-
Author
John Ward-Knox -
Date
9 Apr 2020
Essay
How to: A Maker's Guide - Make Your Own Chess Board
If you’re short of entertainment options, you may like to make your own board game. Follow these instructions to make a chess/checkers board out of scrap.
You will need
-You can use any old wood you have, but it helps if the pieces are square and of a consistent girth. I used four pieces of timber salvaged from a friend’s scrap pile (two oak table legs and two oak braces). I also used a couple of offcuts of plywood, but this was not ideal. Ideally you'd cut the base from one piece.
-A handsaw
-A hammer
-Sandpaper
-PVA glue
-Brass nails (though any nails or screws will do fine) Non-essential items (that help speed up the process)
-A drill
-Two clamps
-A little torch to burn half of the squares but you can use paint, nail polish, different wood or different textures to differentiate the black from white squares.
Method
1. Measure your squares
Measure and mark at least 15mm intervals along your length of timber. Any less could lead the wood to splinter on your last saw strokes.
2. Cut your squares
Use the square edge of your saw handle to rule your cutting lines at the marked intervals. Mark along two sides of your timber so that you can use these lines to guide you to a square cut. Saw along the top line, remembering to guide rather than push your saw. Let the saw do the work or risk making wonky cuts. Cut 64 blocks.
Note: most saws these days have both a 90 degree and 45 degree built into their handle for this purpose. The 45 degree will come into use later to mitre the boxing.
3. Sanding
This step is a little tedious but it helps a lot to make the finished board look nice. No matter how good you are at sawing, there will be discrepancy between your blocks. I don't mind this as it adds to the cottage quality of the finished board. Sanding evens the whole thing out. Sand both sides of the blocks, one can be rough, but the face presented to view should be sanded more carefully.
4. Colouring
I used a small torch to burn half (32) of my blocks black, but you can use whatever you have on hand. Old house paint, beetroot juice, nail polish, turmeric powder, anything that you'd be scared to spill on your bedsheets will do.
5. Base preparation
Arrange your blocks in their eventual configuration and measure their combined width. Make sure to measure in many places to guarantee you are able to fit them in their frame. Chose the largest of your measurements and mark a square on your board to this measurement (mine was 240mm x 240mm). Cut this piece out using your handsaw.
6. Boxing
Get your second two sticks of timber. Mine were from the same table but had a rectangle rather than square profile. Measure your length along the inside and rule this measurement using the 90 degree on your saw, making sure to leave room at either end of your measurement for the mitre. Using the handsaw, rule a 45 degree line along the top edge of your timber, running away from the centre. Saw along these lines, making sure to stick to the lines to ensure a clean mitre. The pieces you cut should look like a slice of a pyramid. Cut four of these.
Apply PVA to the outside edge of your base board, as well as to the ends of your box edges. Assemble these together and bind as tightly as possible. I used clamps but string or elastic or bike inner tube or tape will work almost as well. Leave this to dry overnight. The next morning you can drill holes into the sides (use a drill bit the same size or slightly smaller than the diameter of the nails/screws you will be using) and hammer some nails in to secure the boxing in place. The drilling is not essential but it does help guide the nail and reduces the chances of mishap.
7. Gluing the blocks
Apply a fairly liberal amount of PVA glue. Spread evenly. Apply your blocks one at a time. I arranged mine so the grain all faced the same direction but you can do as you wish here. These should fit snugly, but if they do not you may need to tap them into place using a hammer and a block of wood (to ensure the hammer does not mark your blocks).
8. Finishing
I waxed my board with beeswax but you can use lots of things for this purpose. Household oils will do okay, but linseed oil is better. If you have a beeswax candle, you can melt this over a low heat and add a little oil to make a passable furniture polish. Also, the mitres of your boxing may be imperfect (as mine were) and want filling. You can mix PVA glue with the sawdust you made while sanding to create a filler that should be the same tone as your wood. I mixed a little charred wood ash with mine to make it black.
Tada!
--
John Ward-Knox is an artist living in Karitane, Ōtepoti (Dunedin). He is represented by Robert Heald gallery (Wellington), Ivan Anthony Gallery (Auckland) and Darren Knight Gallery (Sydney). John is committed to re-use and exploration of previously used materials, as both a part of his art practice and as a general methodology within everyday life.
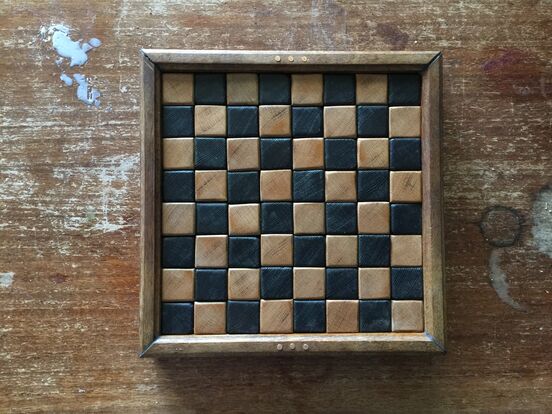
Chess board. Image: John Ward-Knox
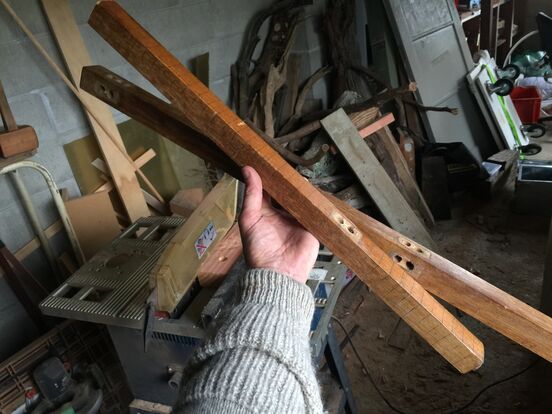
Salvaged wood used for the chess set
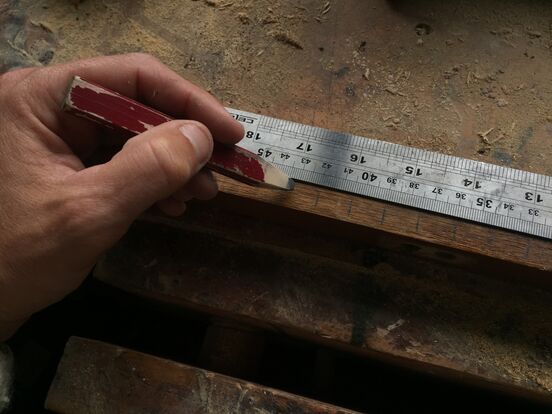
Measuring the wood
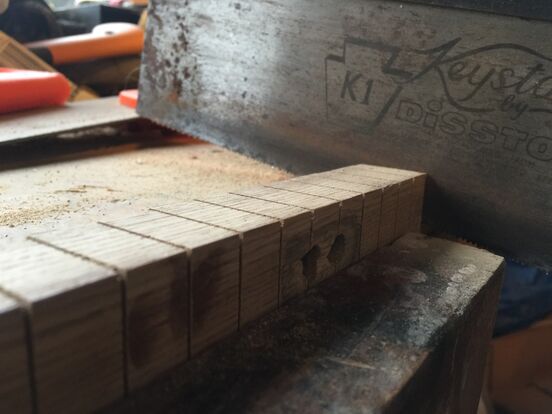
Cutting your squares

Colouring the blocks
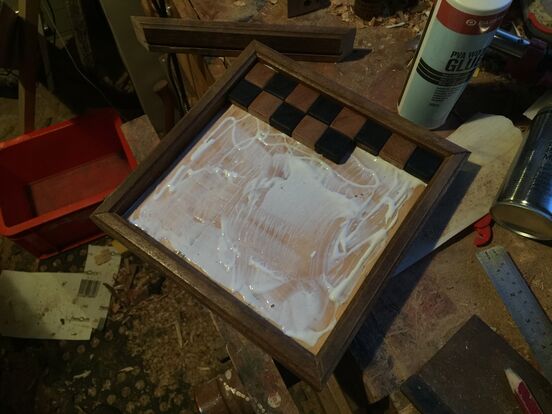
Apply PVA to the board
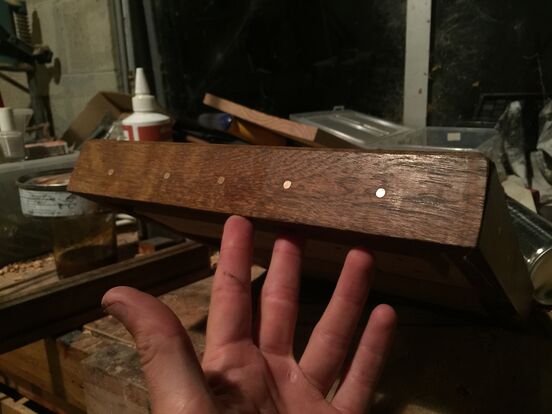
Hammer some nails in to secure the boxing in place before finishing

Chess board detail shot